

PROJECT NOTES · 21 OCTOBER 2026
A room-by-room furniture schedule for hospitality projects
Turn a concept package into an organised furniture enquiry by recording what belongs in each space and what still needs confirmation.
A hospitality furniture project often begins with floor plans, mood boards and product references prepared by different people. These are useful design inputs, but they do not always answer the same questions. A room-by-room furniture schedule brings the information together so that a hotel, restaurant or serviced-apartment team can review quantities and specifications without losing the connection to the intended space.
Give every space a clear code
Start with a simple location structure: building or floor, room type and zone. A restaurant might separate the dining room, bar, waiting area and terrace. A hotel might distinguish a guest-room type, lobby, corridor and breakfast area. Use the same codes on the plan, schedule and product references so that a chair selected for one zone is not mistaken for a project-wide choice.
Record whether the listed quantity is per room, per area or the total required. If several guest rooms share one layout, show both the quantity for one room and the number of rooms. Keep spare quantities as a separate line rather than blending them into the operating requirement.
Connect each item to one reference
For every furniture line, add an item number, a plain-language category and the selected image or drawing reference. “Dining chair” is easier to discuss when it is linked to the exact photograph under review. If the image is only a design direction, label it accordingly; it should not be treated as proof of dimensions, materials or construction.
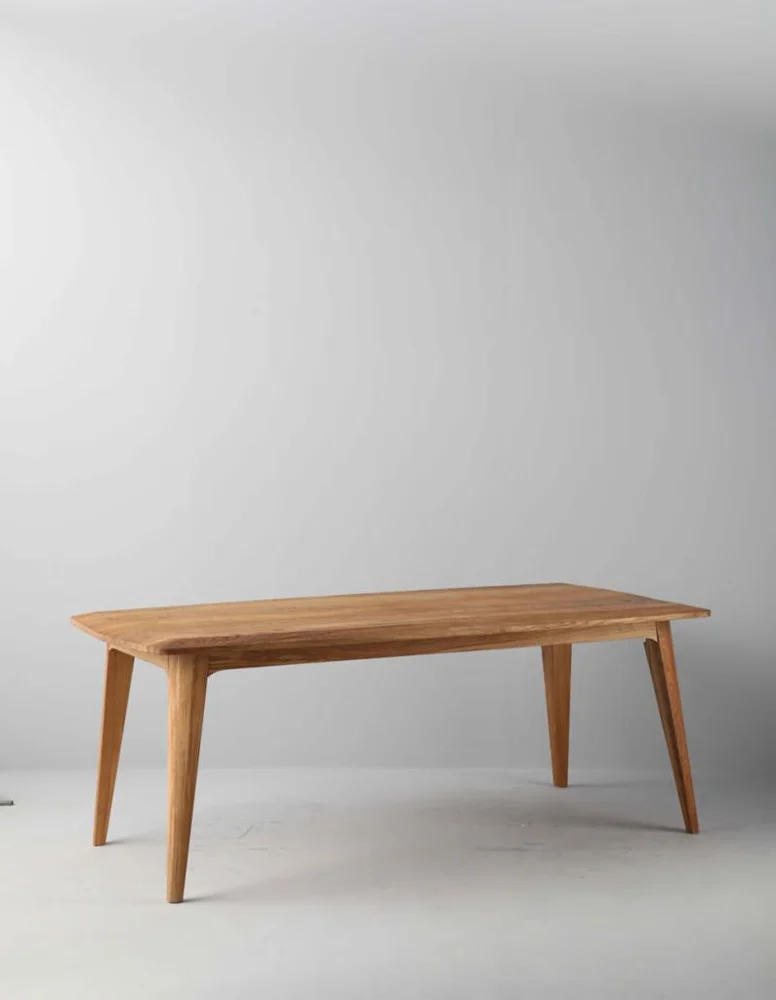
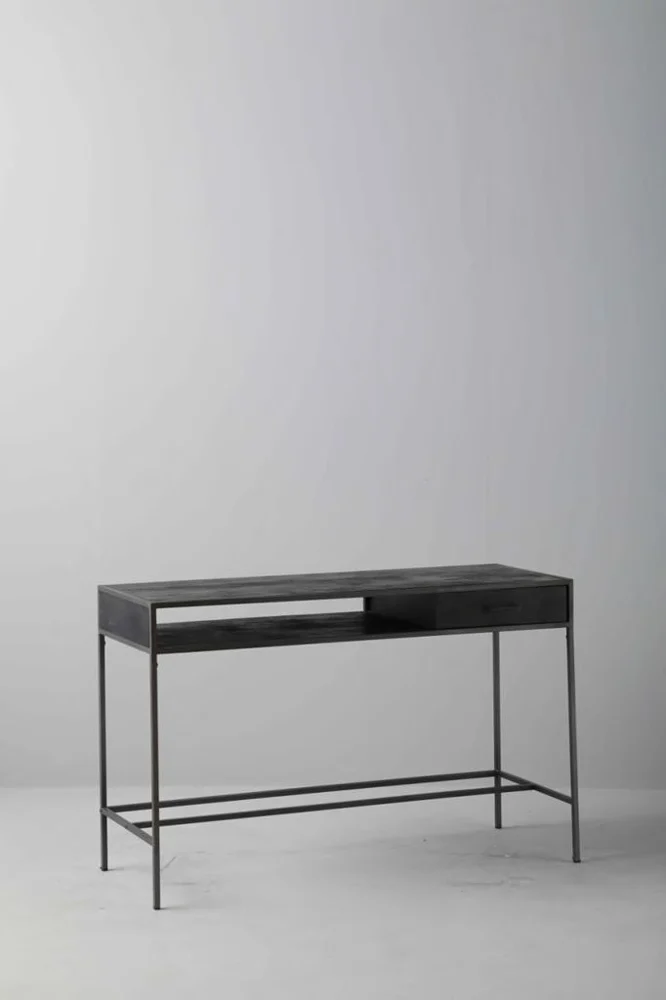
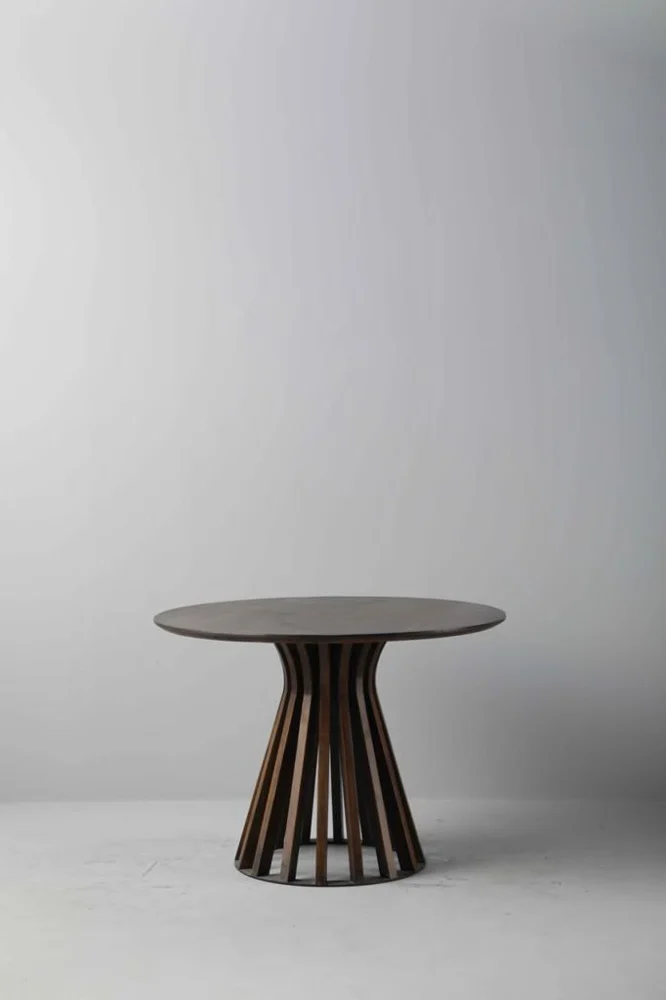
Browse the Ratna Exports seating collection, dining tables and console tables when assembling a shortlist. Save the page link or screenshot reference beside the relevant schedule line, not in a separate unlabelled image folder.
Separate required details from details to confirm
A useful schedule makes uncertainty visible. Create columns for required dimensions, material direction, finish, upholstery or hardware, and add a status such as “buyer requirement,” “supplier to confirm” or “approved reference.” A photograph may suggest a colour or texture, but it does not confirm wood species, coating, fabric performance, hardware or internal construction.
For custom-size requests, state whether the dimension is fixed by the plan or still open to discussion. Note clearance constraints around doors, walkways, service paths and built-in elements. The project team remains responsible for confirming local safety, accessibility, installation and regulatory requirements with the relevant professionals.
Track approvals without overwriting the brief
Keep the original requirement, the current proposal and the approval decision in separate fields. When a size or finish changes, add the revision date and who approved it. Avoid replacing an earlier note with a new one that has no history. This makes it easier for purchasing, design and supplier teams to understand which decision is current.
A sample or finish reference should carry its own identifier. If a physical sample, digital image and written description differ, pause the approval and clarify which reference controls. Screen colour alone should not be used as the final finish standard.
Prepare the schedule for an enquiry
Before sharing the file, check that each row includes the location, item, quantity, selected reference and the open questions. Add the project city or destination, the expected programme stage and any packing or installation information that is already known. If delivery timing is important, present it as a requested timeframe for discussion—not as an assumed commitment.
It can also help to group the schedule into review batches: seating, tables, storage and accent pieces. The buyer can then discuss related decisions together while preserving the individual reference and room location for every item. Ratna Exports’ cabinets and sideboards may be reviewed as one family, for example, while each piece remains assigned to its intended zone.