

RETAIL NOTES · 5 NOVEMBER 2026
Furniture showroom displays: give every product a clear retail role
Plan room stories, product roles and confirmed buyer information before arranging the showroom floor.
A furniture showroom has to do more than hold available pieces. It should help a buyer understand how products relate to a room, what role each item serves and which details are confirmed. A display brief gives the retailer a practical way to organise those decisions before furniture is placed, labelled or promoted.
Define the purpose of each display area
Start with the buyer group and room context the display is intended to support. A dining setting, living area, entryway or café-inspired zone asks different questions. Record the main use case and the information a visitor should understand after viewing the group.
Keep the room story realistic. A styled setting can illustrate scale and coordination, but it should not imply a completed customer project, measured performance or suitability for a condition that has not been assessed.
Give every product a role
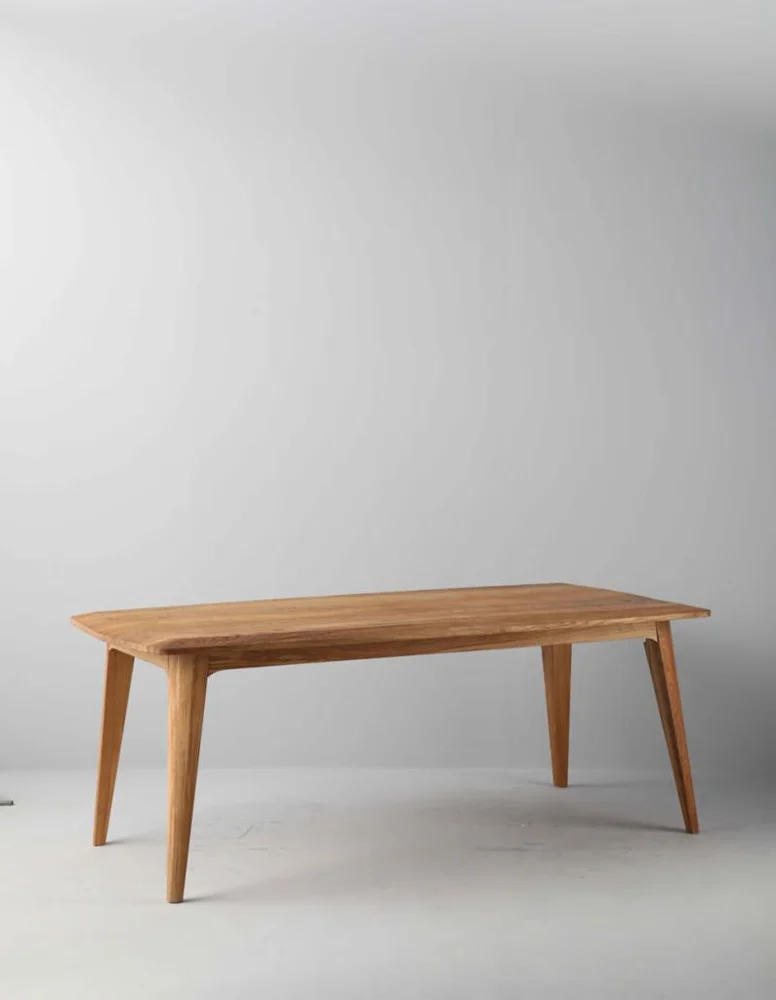
Choose one anchor piece and identify the supporting products around it. An anchor may be a dining table, a cabinet or sideboard, or another substantial item. Supporting seating, consoles and occasional tables should clarify the room story rather than compete for the same visual role.
Write the role beside each product reference: anchor, supporting storage, seating, surface or accent. These are display-planning labels, not statements about sales priority, stock position or product performance.
Plan space with confirmed dimensions
Use current approved product dimensions when mapping the floor. Record the footprint of every piece and the circulation space the retailer intends to maintain. A photograph should not be used to estimate width, height or clearance.
Mark doors, columns, windows, power points and fixed features on the showroom plan. Check the access route for moving each item into position. If a display includes a product in a size different from the approved record, keep that change open until the manufacturer confirms it.
Coordinate finish direction without guessing
Build the display palette from confirmed material and finish references. Similar colours in photographs can represent different substrates, textures or sheen levels. Connect each finish name or code to the exact product and approved sample.
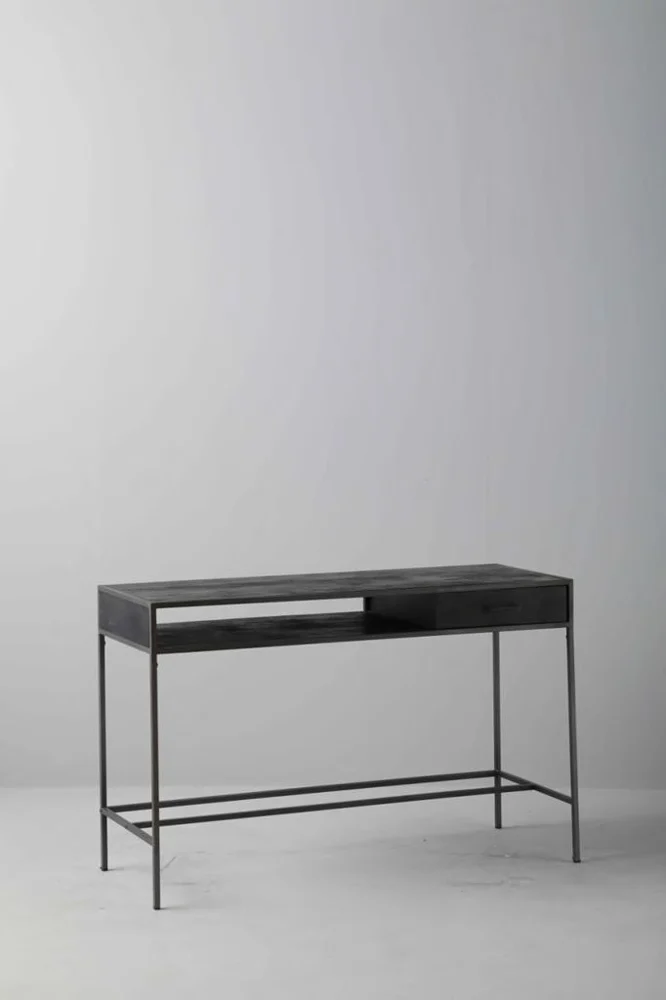
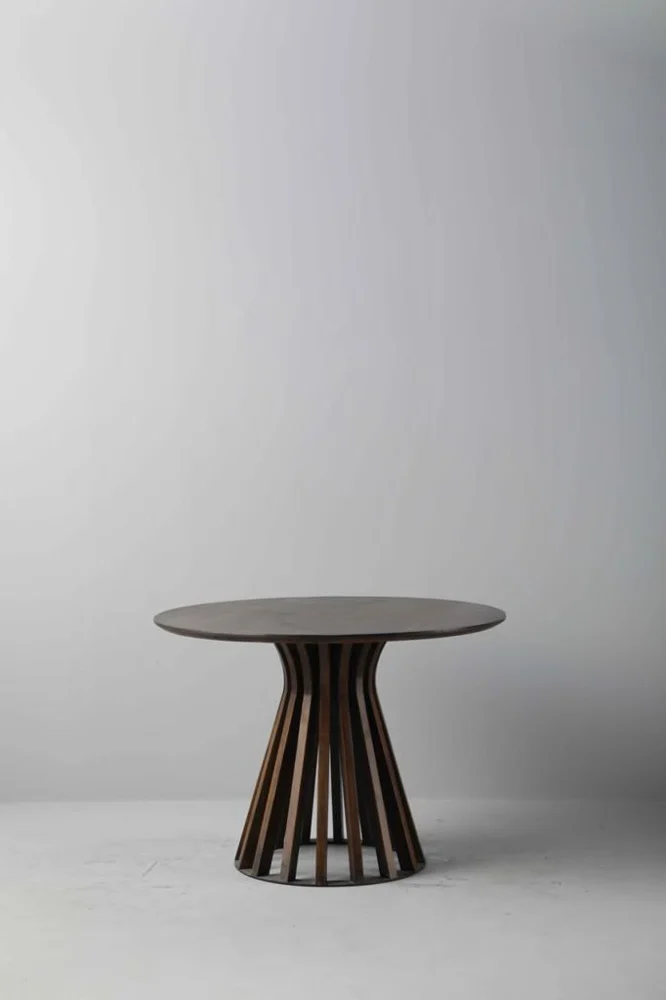
Decide where coordination supports the room story and where contrast has a clear purpose. For consoles, coffee and side tables or table bases, confirm the top, base and fitting references separately when the product combines distinct components.
Keep product labels factual
Prepare a short label record for each displayed item. Include the product reference, category and only those materials, dimensions, finishes or options that have been confirmed for that exact piece. Keep pricing, availability and delivery timing connected to the retailer’s current commercial record.
A generated, unmanufactured product should be labeled as a design concept. It should not be presented as photographed stock or as proof of manufacturing, dimensions, materials or availability.
Use photographs to support the display record
Photograph the complete display from useful visitor viewpoints and keep a separate close view of each product label. These images can help the retail team review spacing, sight lines and information consistency. They do not replace confirmed specifications.
If a background, prop or decorative object distracts from the furniture, adjust the styling rather than altering the product image. Preserve the product’s visible shape, colour, finish, grain, proportions and construction details.
Connect the showroom and online presentation
Use the same approved product reference and core facts in showroom labels, staff notes and online listings. The length and emphasis can change by channel, but materials, dimensions and finish information should agree. Mark any field that still needs manufacturer confirmation.
Relevant collection links can help a buyer continue the comparison after a showroom visit. Keep the link connected to the actual displayed category and avoid sending visitors to an unrelated product family.
Build a display change record
Showrooms change as products move, sell or return to storage. Record the date, display zone and active product references whenever a group is revised. Note which labels, photographs and online links also require an update.
A simple change record prevents an old finish description or discontinued product reference from remaining beside a new display. It also gives the retailer a clear list of gaps to raise in the next sourcing enquiry.
Turn the plan into a focused enquiry
Share the display goal, product shortlist, confirmed dimensions, finish direction, quantity and destination with the manufacturer. Add a floor sketch or photographs when they help explain the intended relationship between pieces. Separate open design choices from confirmed order information.
A controlled display brief helps retailers present furniture with a clear purpose and gives manufacturers better questions to answer. The result is a showroom story grounded in traceable product information rather than assumptions.